Pumpkin Carving Patterns from Photos with Julia
Over the last few years, my family and I have rekindled our collective interest in carving jack-o'-lanterns. As a child, I would carve fairly simple templates with my parents, but in 2019 I found a tutorial for creating photo-realistic templates with photo editing software (I used GIMP). The resulting carving of my wife was cool, but it took a lot of manual editing to get to a usable template from a reference photo.
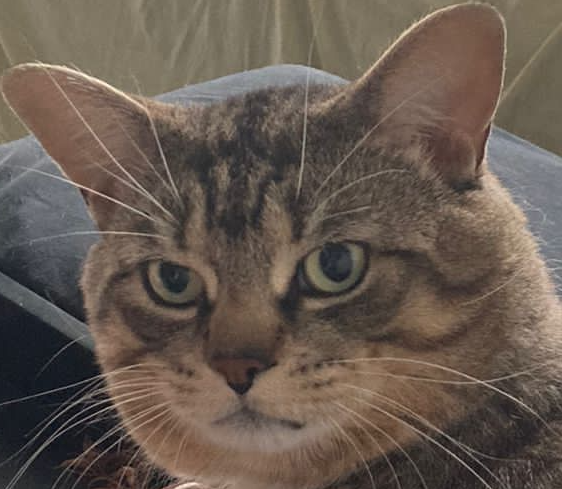
This year, I decided to see what I could do to automate most of the pattern creation steps using Julia's image processing libraries. Inspired by the grumpy mug of my former foster cat Bruno, I got to work.
This tutorial was made with Literate.jl; you can find the source code here.
We'll only be making use of a few image processing packages.
using Images, ImageFiltering, ImageContrastAdjustmentHere's an outline of the steps I used to create a pattern (we'll look at each in detail shortly):
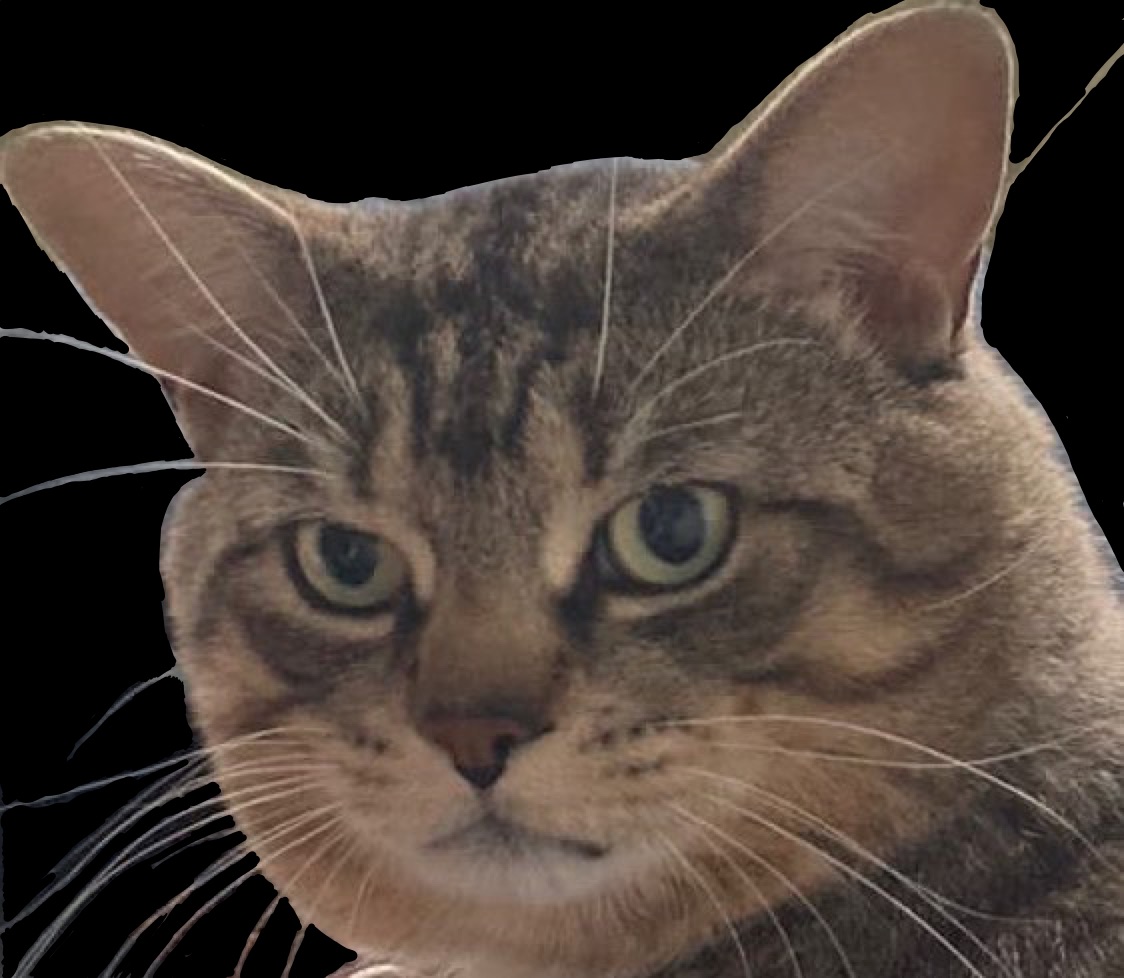
Manual Background Removal: you can get a fairly good template without removing the background, but I found the contrast was improved by doing this on my iPad first. I leave the implementation of an automatic segmentation algorithm for future work.
Grayscale: since I can only control how much light gets through the pumpkin, there's no need for colour.
Equalization: this step spreads out the dynamic range of the pixels to create greater contrast for a clearer image.
Smoothing: real photographs contain too much fine detail for a novice carver like me to recreate, so some form of smoothing filter is needed.
Thresholding: once again, I'm not a skilled artist, so I will only be creating a template with three shades (white, black, and gray). It's possible to have a more shades, or even continuous gradients, but that's well beyond my carving abilities.
Manual Touch-up: unfortunately, the process isn't perfect, and some manual changes on my iPad were needed to simplify the template.
Grayscale
Let's load up the image and make it grayscale.
rgb_image = load("_assets/img/blog/pumpkinizer/bruno_pumpkin_black_background.jpg")
gray_image = Gray.(rgb_image);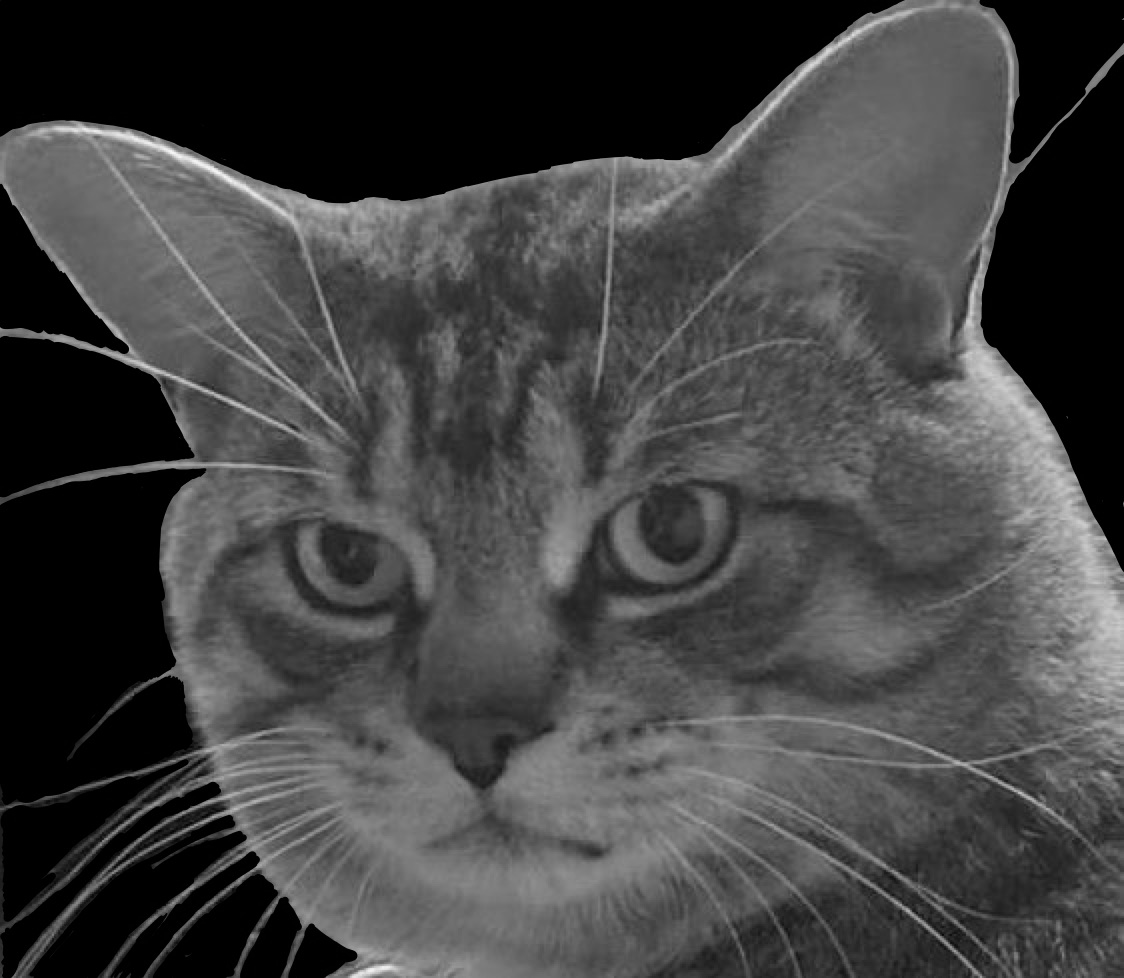
Equalization
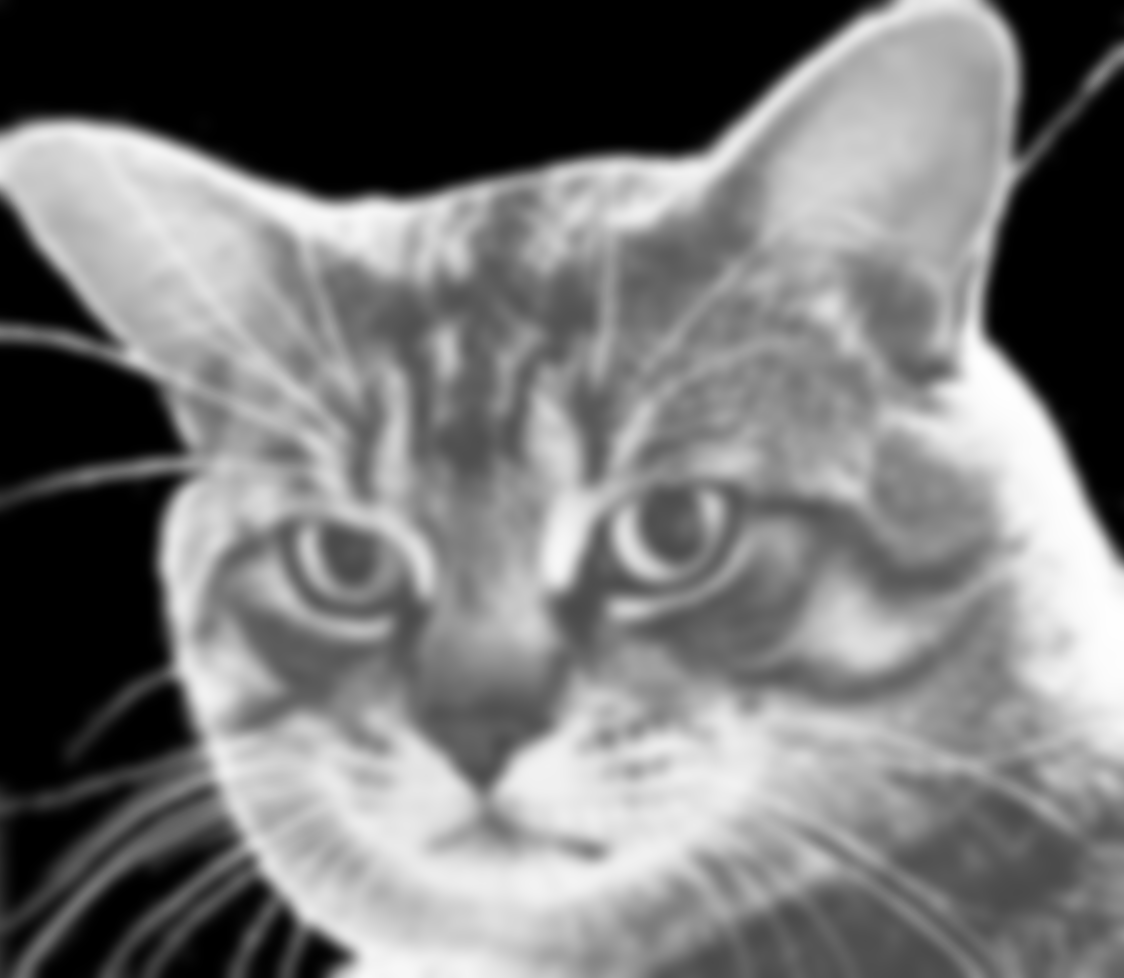
Next, we'll apply histogram equalization. Notice how much this simple step has improved the contrast, which will help us to eventually separate Bruno's feature's into three clear shades.
hist_equal = adjust_histogram(gray_image, Equalization(nbins = 256));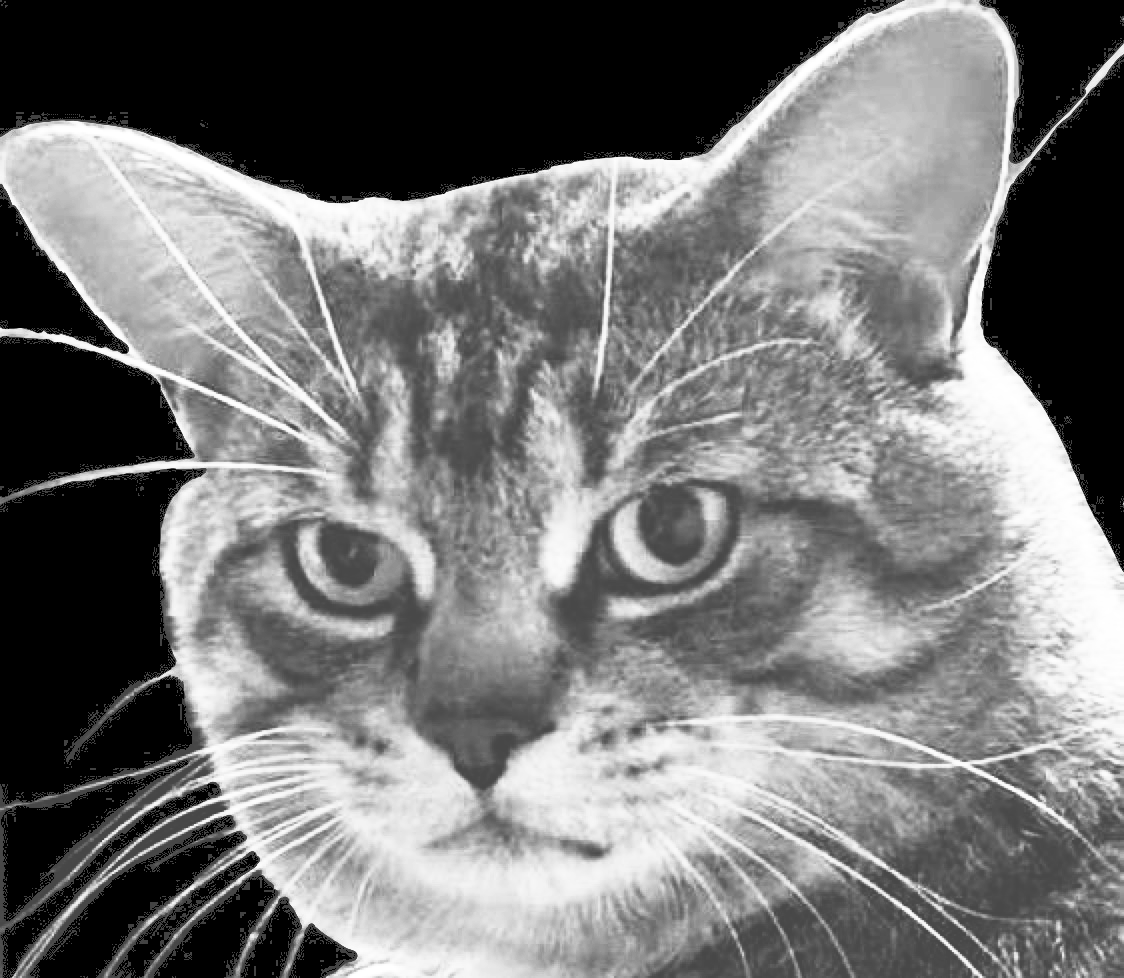
Smoothing - Bilateral Filtering
We use a bilateral filter for its edge-preserving properties.
function bilateral_filter(img, n::Int=5, σr=0.5, σd=0.5)
    img_filt = zeros(size(img))
    for i = 1:size(img, 1)
        for j = 1:size(img, 2)
            w_sum = 0.0
            img_sum = 0.0
            for u = max(1, i-n):min(size(img, 1), i+n)
                for v = max(1, j-n):min(size(img, 2), j+n)
                    w_ijuv = exp(-((i-u)^2 + (j-v)^2)/(2*σd^2) - (img[i, j] - img[u, v])^2/(2*σr^2))
                    w_sum += w_ijuv
                    img_sum += w_ijuv*img[u, v]
                end
            end
            img_filt[i, j] = img_sum/w_sum
        end
    end
    return img_filt
end;
The kernel size and smoothing parameters \(\sigma_r\) and \(\sigma_d\) allow for a great deal of control. I eventually settled on the values below.
σr = 3 # Smoothing parameter based on pixel proximity (reduce this for more detail)
σd = 7 # Smoothing parameter based on pixel intensity similarity (reduce this for more detail as well)
kernel_size = 14 # Size of the window to use (make this larger for less detail)
filtered_image = bilateral_filter(hist_equal, kernel_size, σr, σd);
Bruno's face is now blurrier and therefore more easily segmented into simple blobs, but notice how the lines are still fairly crisp (and therefore easy to carve):
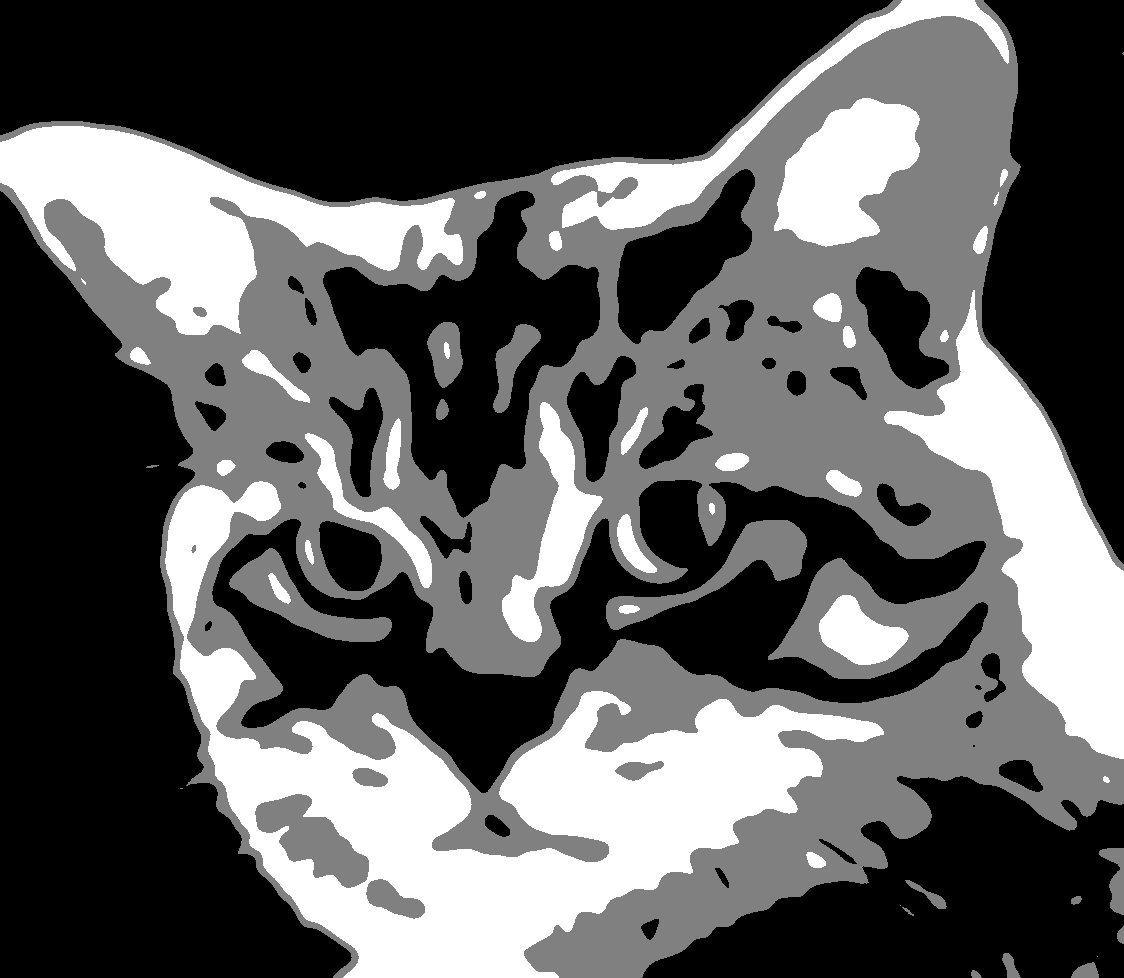
Thresholding Operation
The final step was simply a thresholding procedure so that the pattern only featured three shades. Carving with a greater number of shades is beyond my abilities, but more skilled pumpkin pulp-sculptors can easily modify this procedure to support more detailed shading.
function threshold_image(img, black_threshold, gray_threshold)
    thresholded_image = zeros(size(img))
    for ind in eachindex(img)
        if img[ind] < black_threshold
            thresholded_image[ind] = 0.0
        elseif img[ind] > gray_threshold
            thresholded_image[ind] = 1.0
        else
            thresholded_image[ind] = 0.5
        end
    end
    return thresholded_image
end;
After some experimentation, the following parameters were used:
black_threshold = 0.5 # Increase for more black vs. gray
gray_threshold = 0.75 # Increase this for more gray vs. white
thresholded_image = threshold_image(filtered_image, black_threshold, gray_threshold);
The resulting image is now pretty much ready to be saved (with save("template.png", thresholded_image)) and used as a carving pattern:
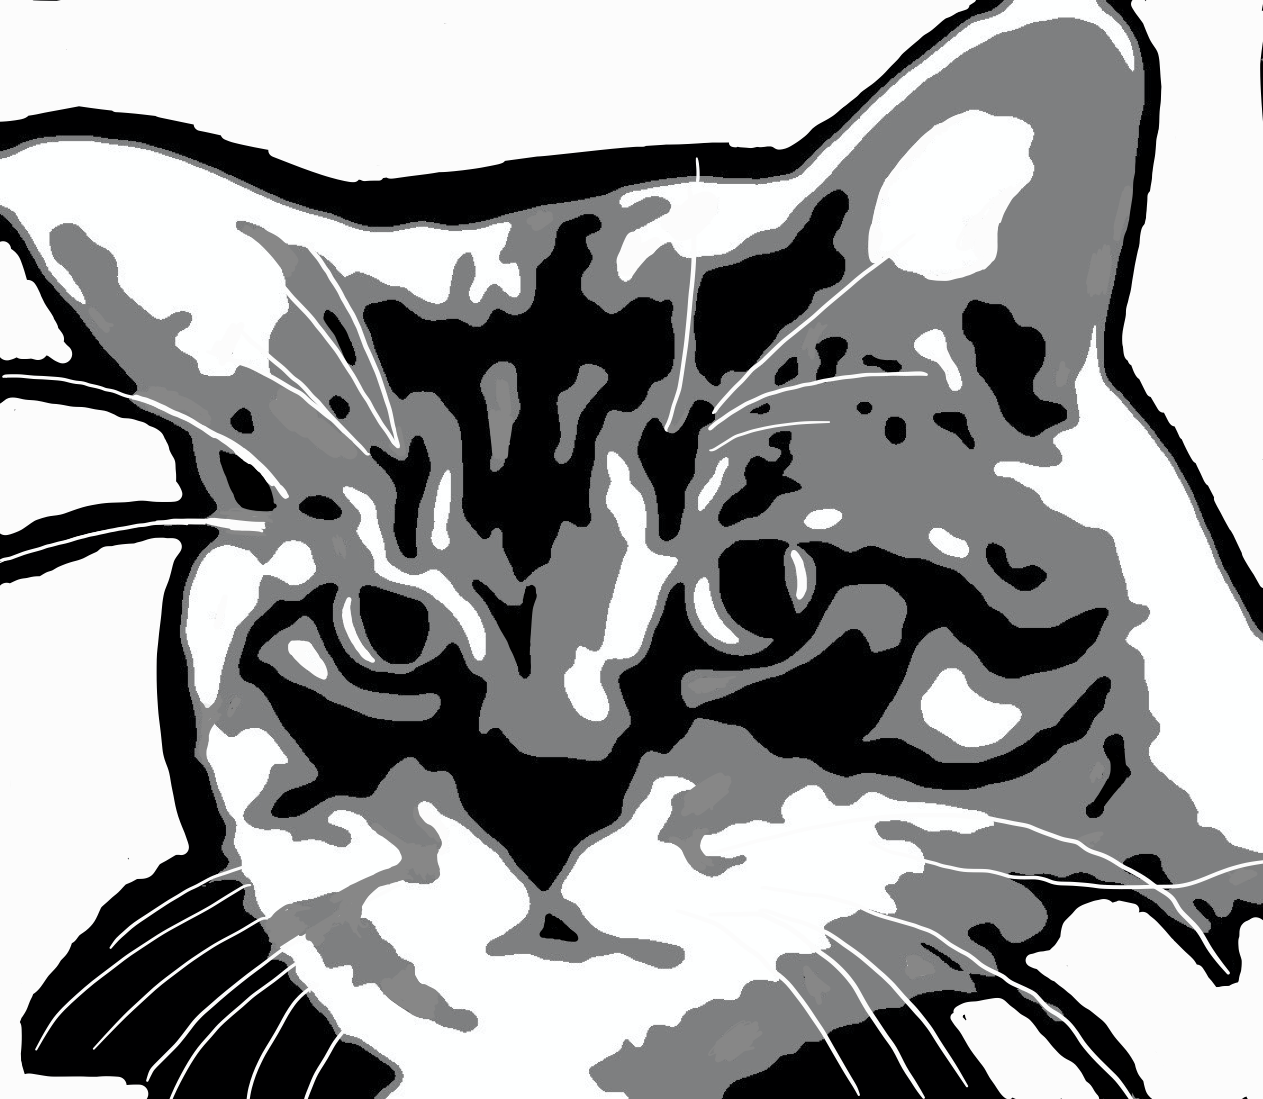
Manual Touch-Up
The final step before printing and carving involved some manual simplification on my iPad, the re-addition of some whiskers that were lost in translation, and adding some whitespace to save ink.
Carving Time
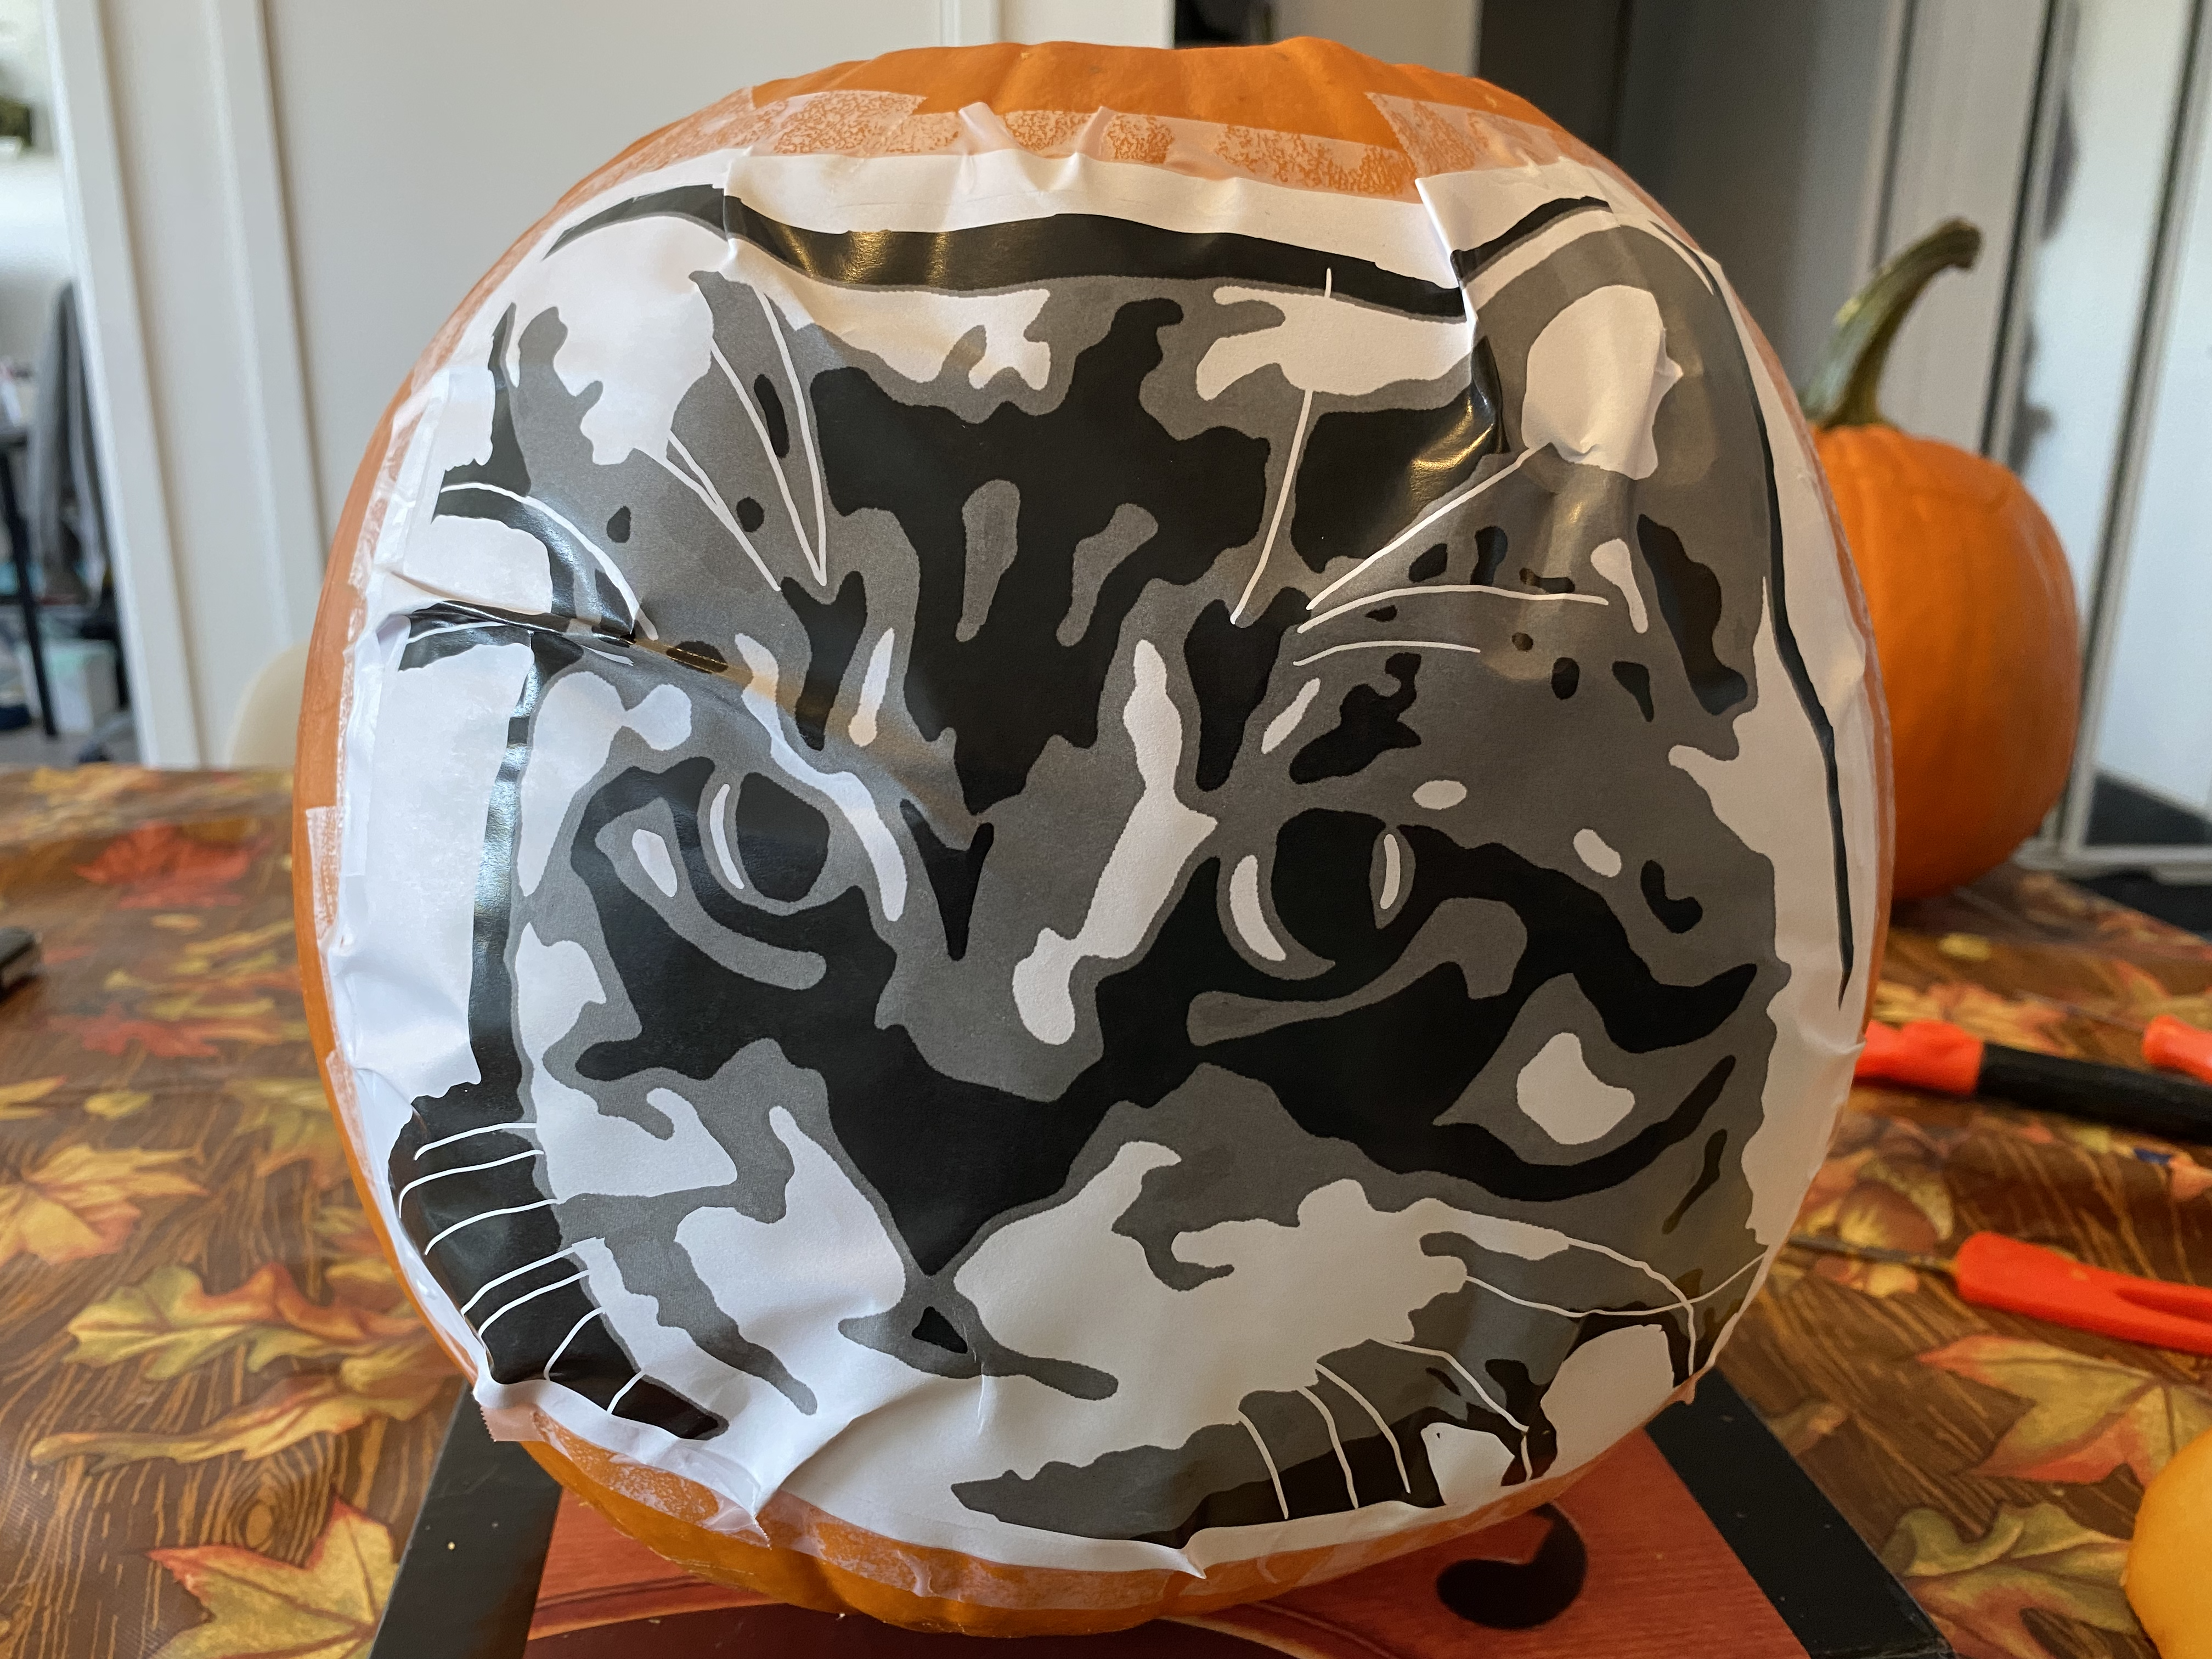
I set up my workspace and taped the template on the nicest face of a newly-gutted pumpkin:
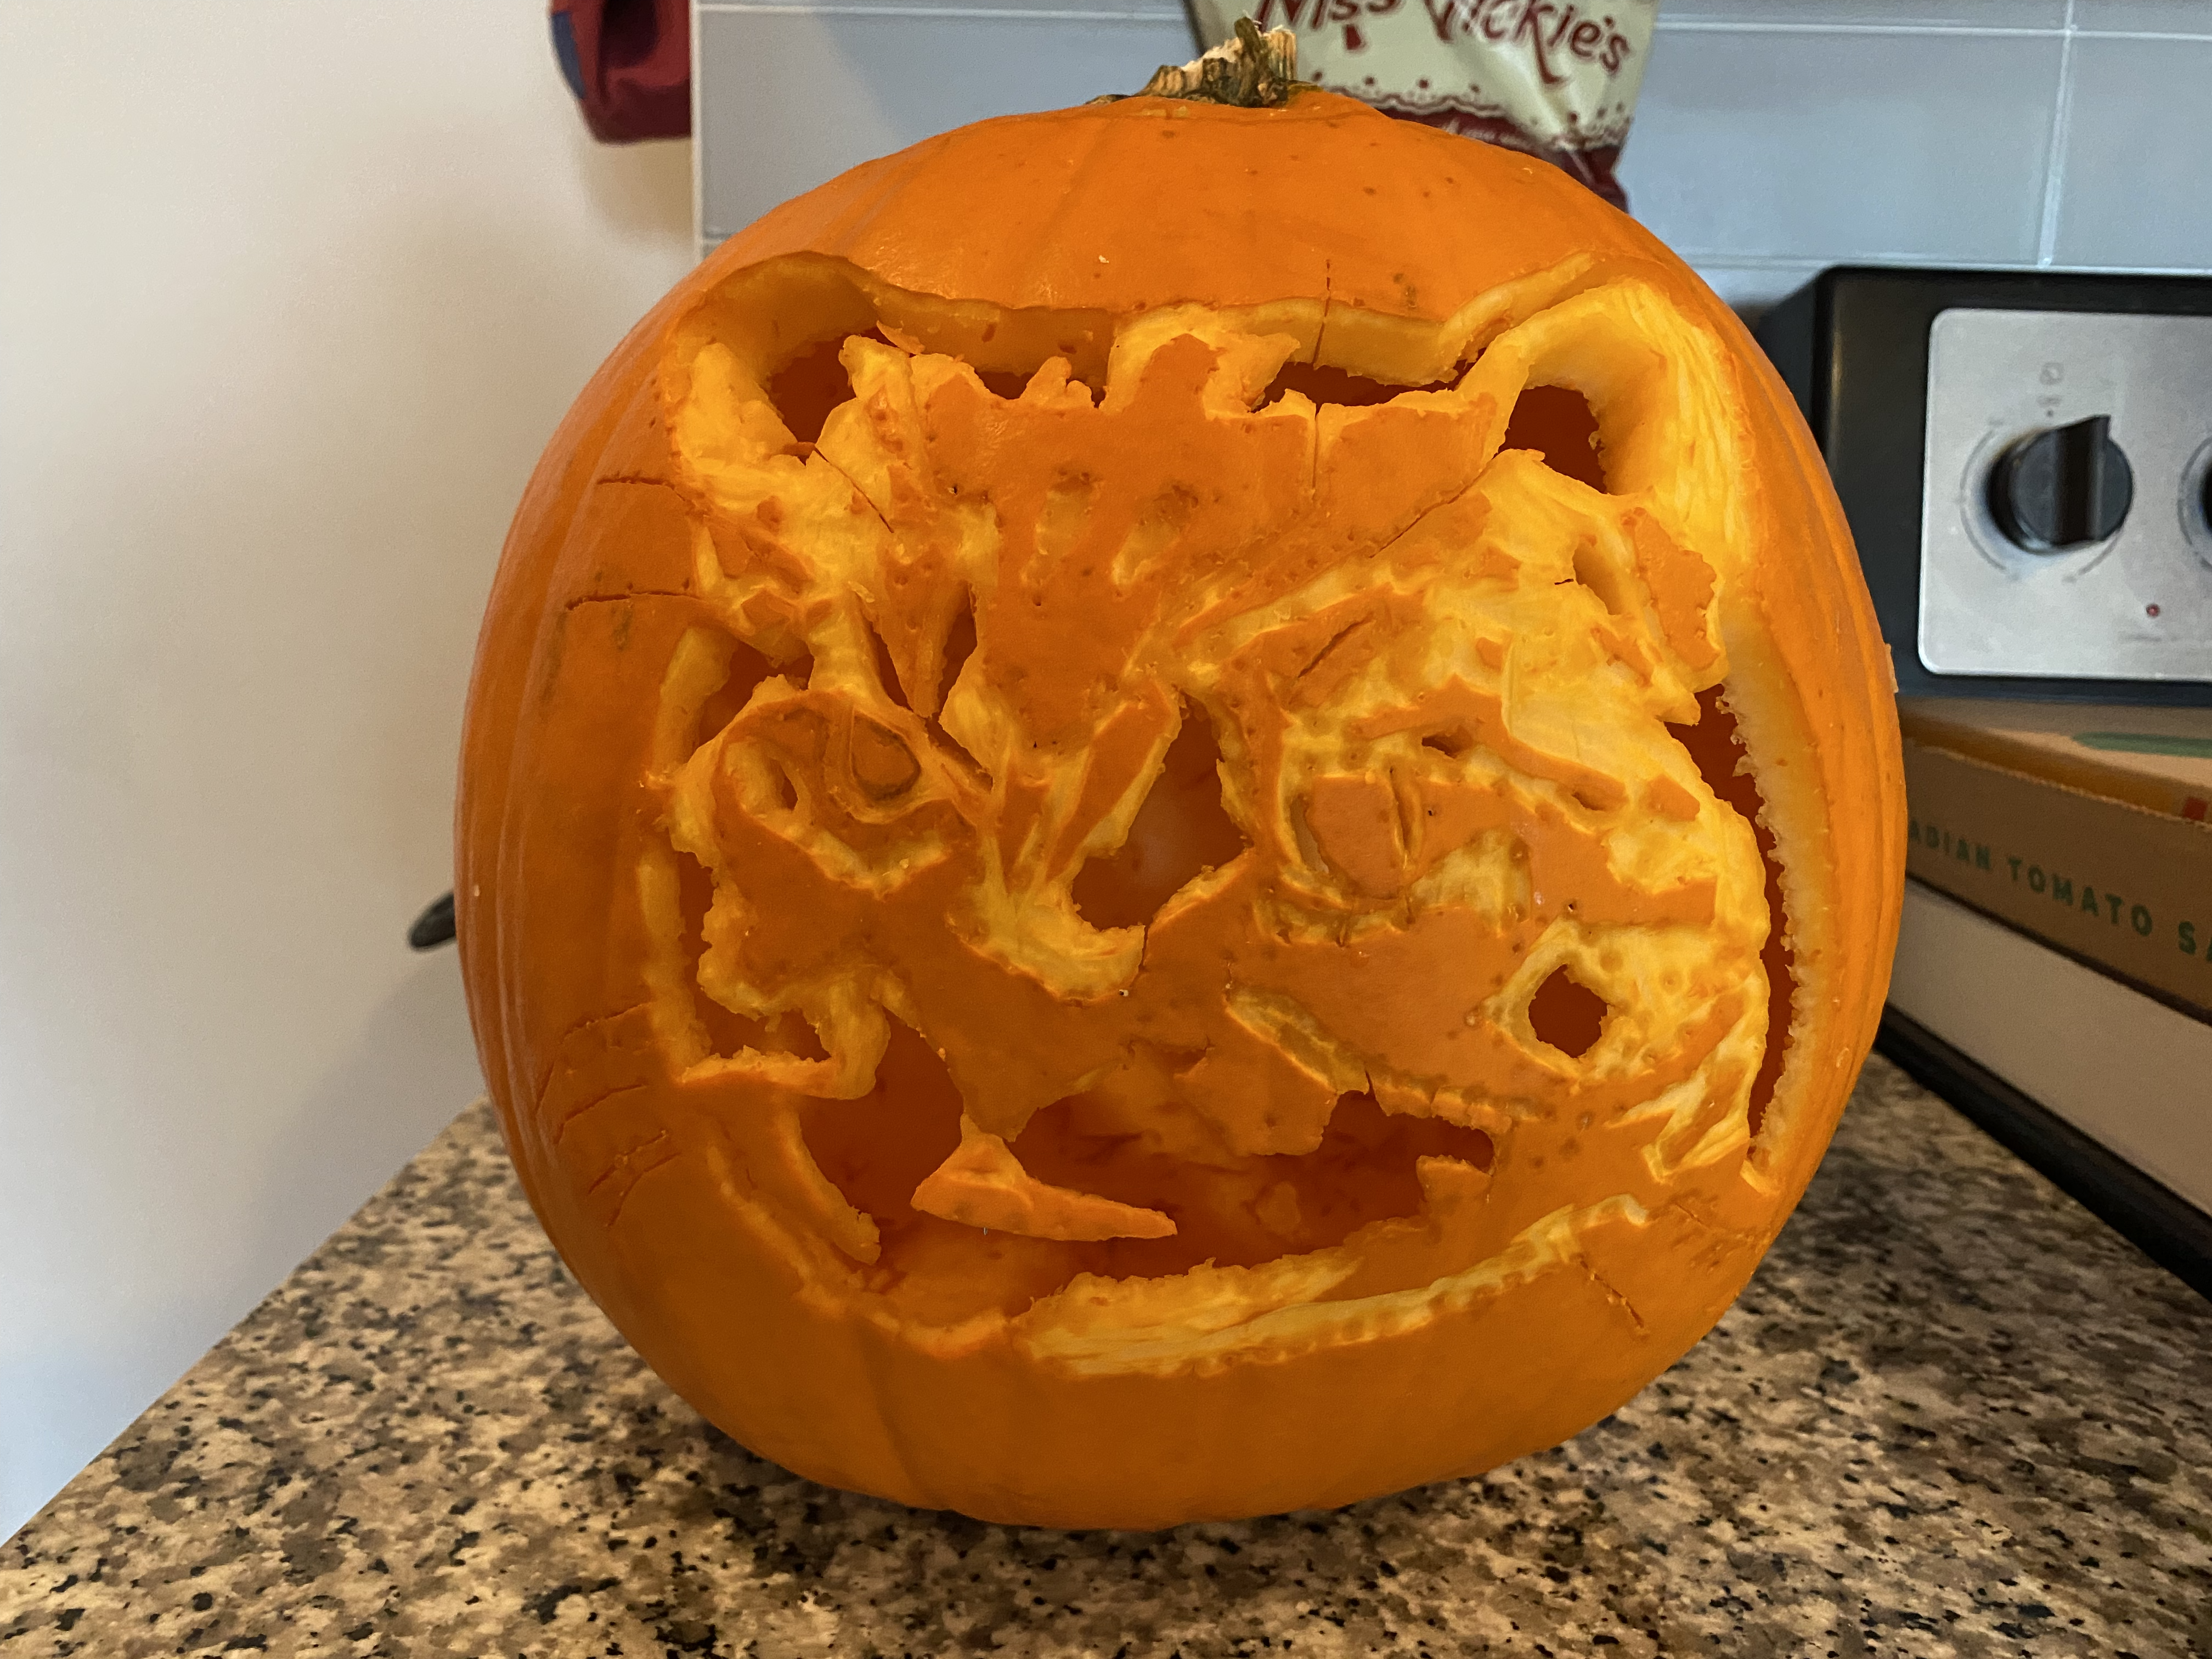
After a few hours of detailed carving, the un-illuminated Brun-o'-lantern looked pretty terrible:
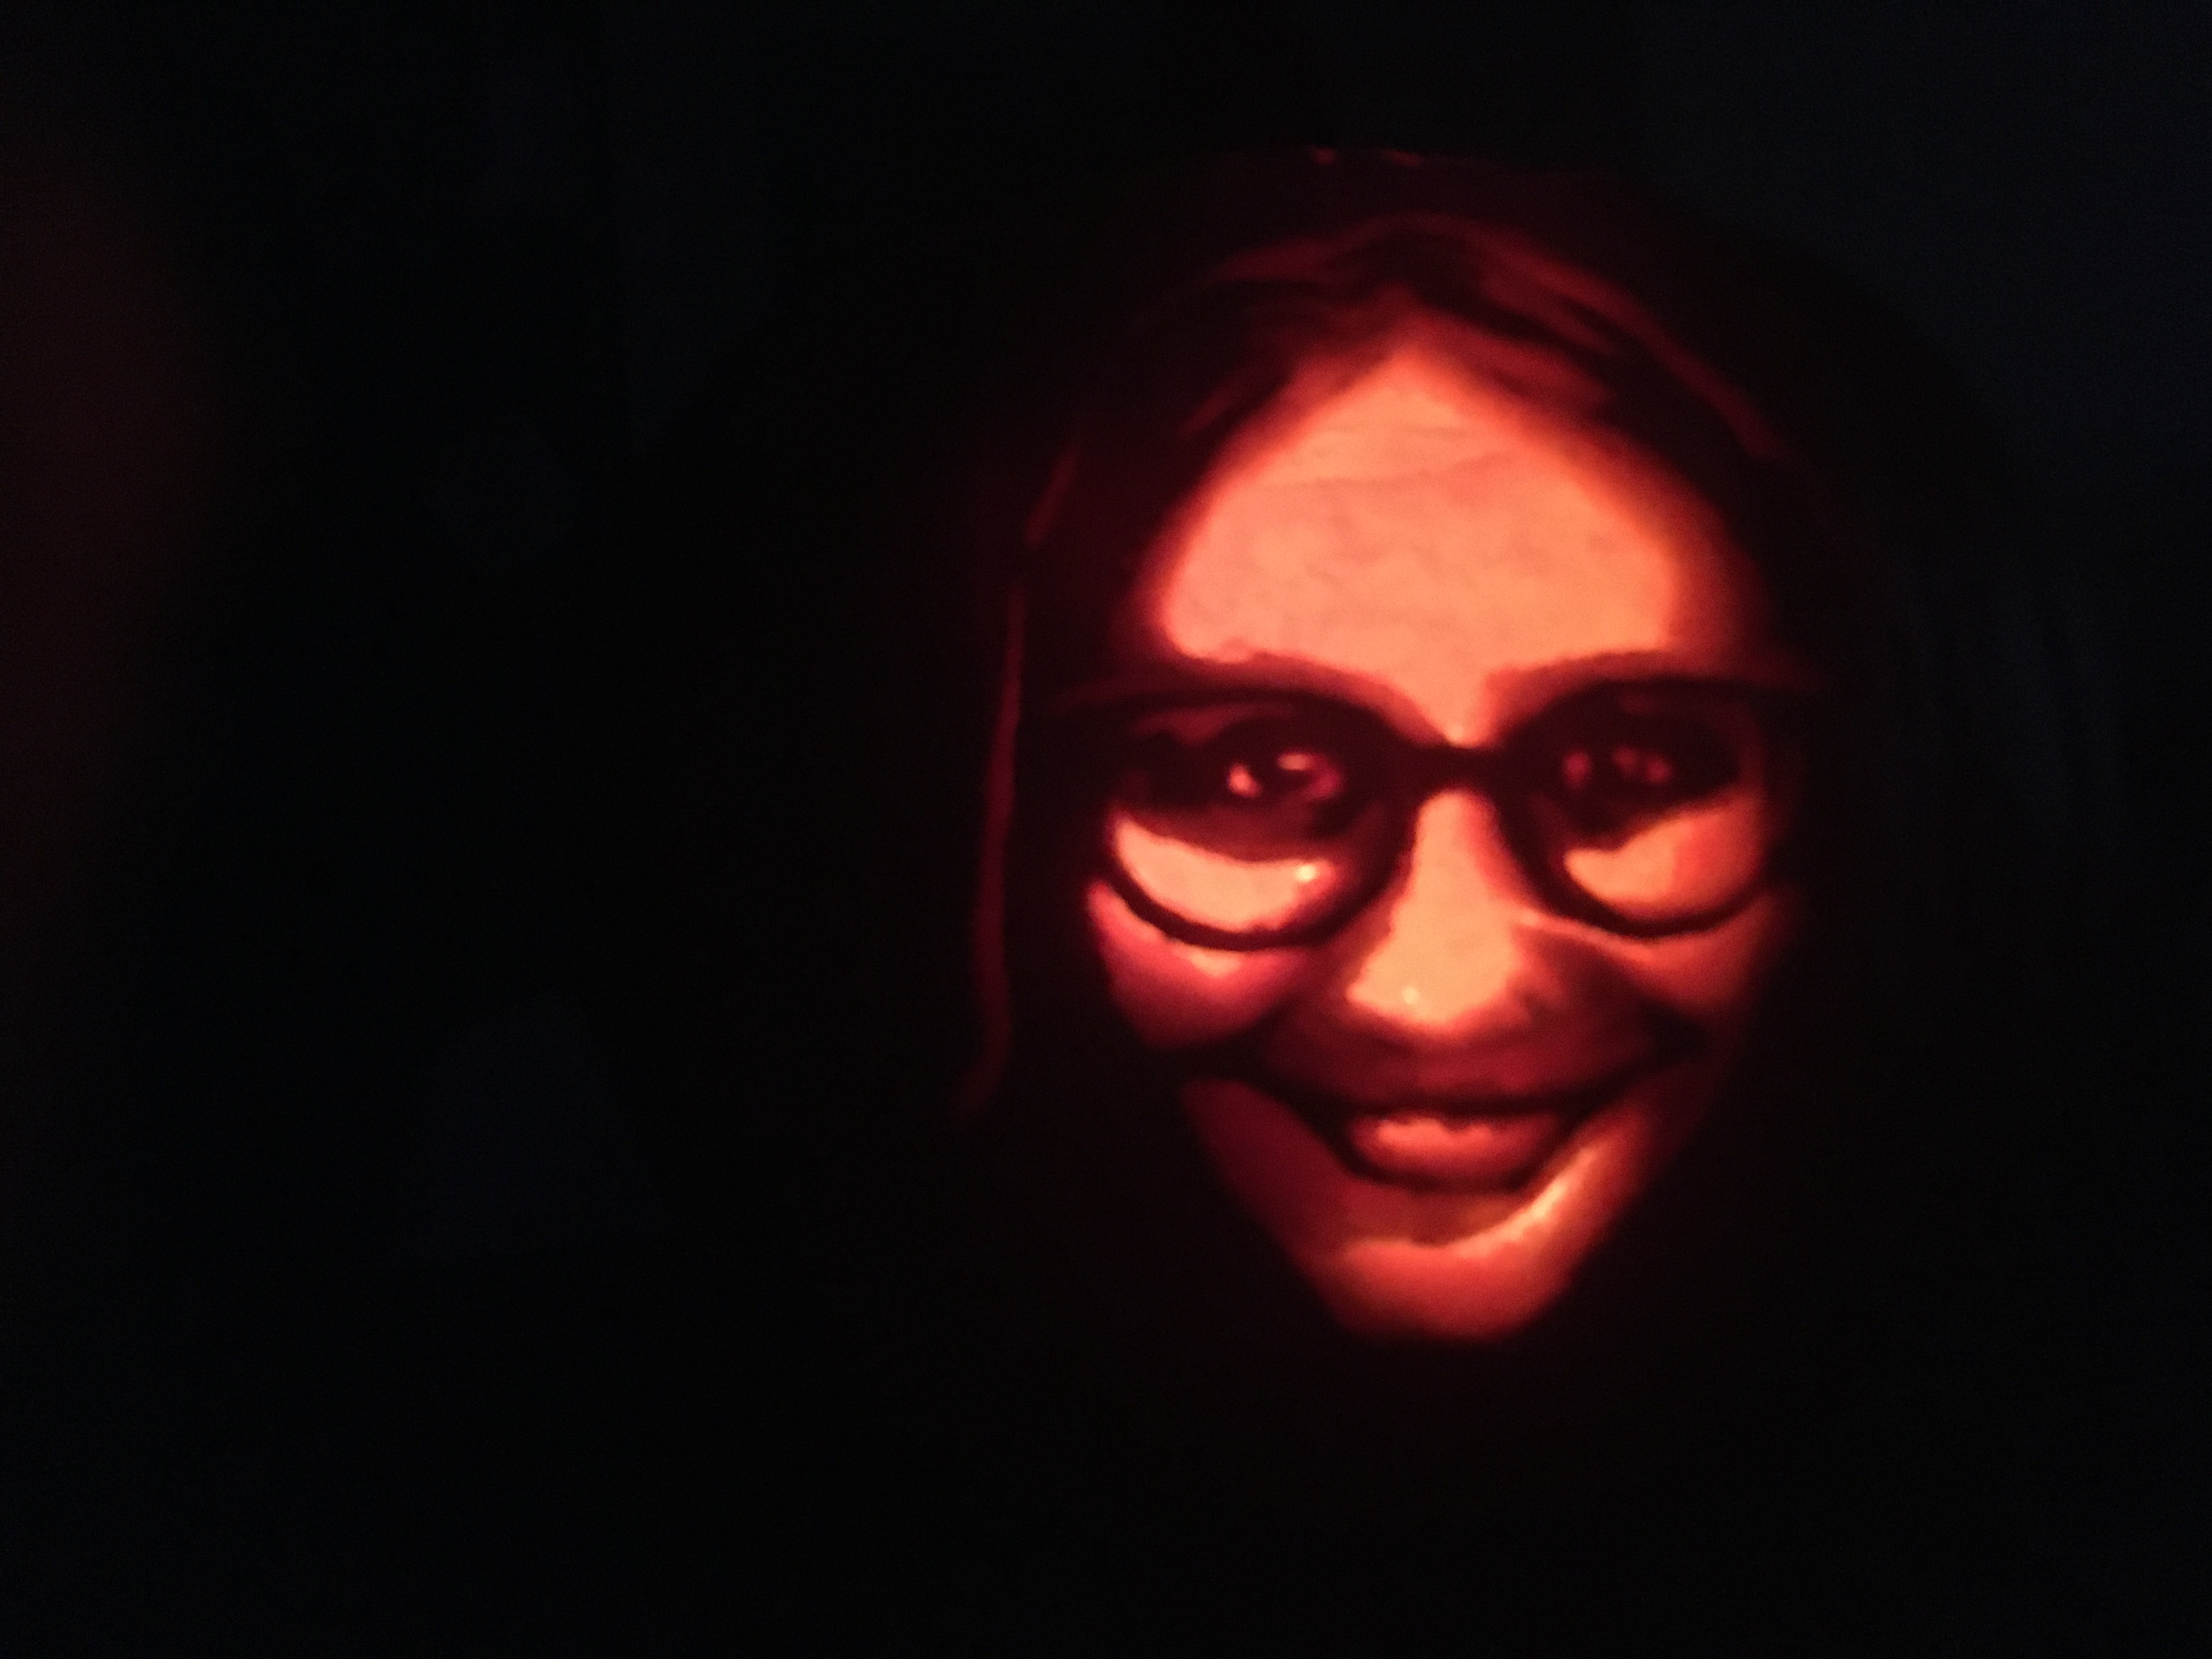
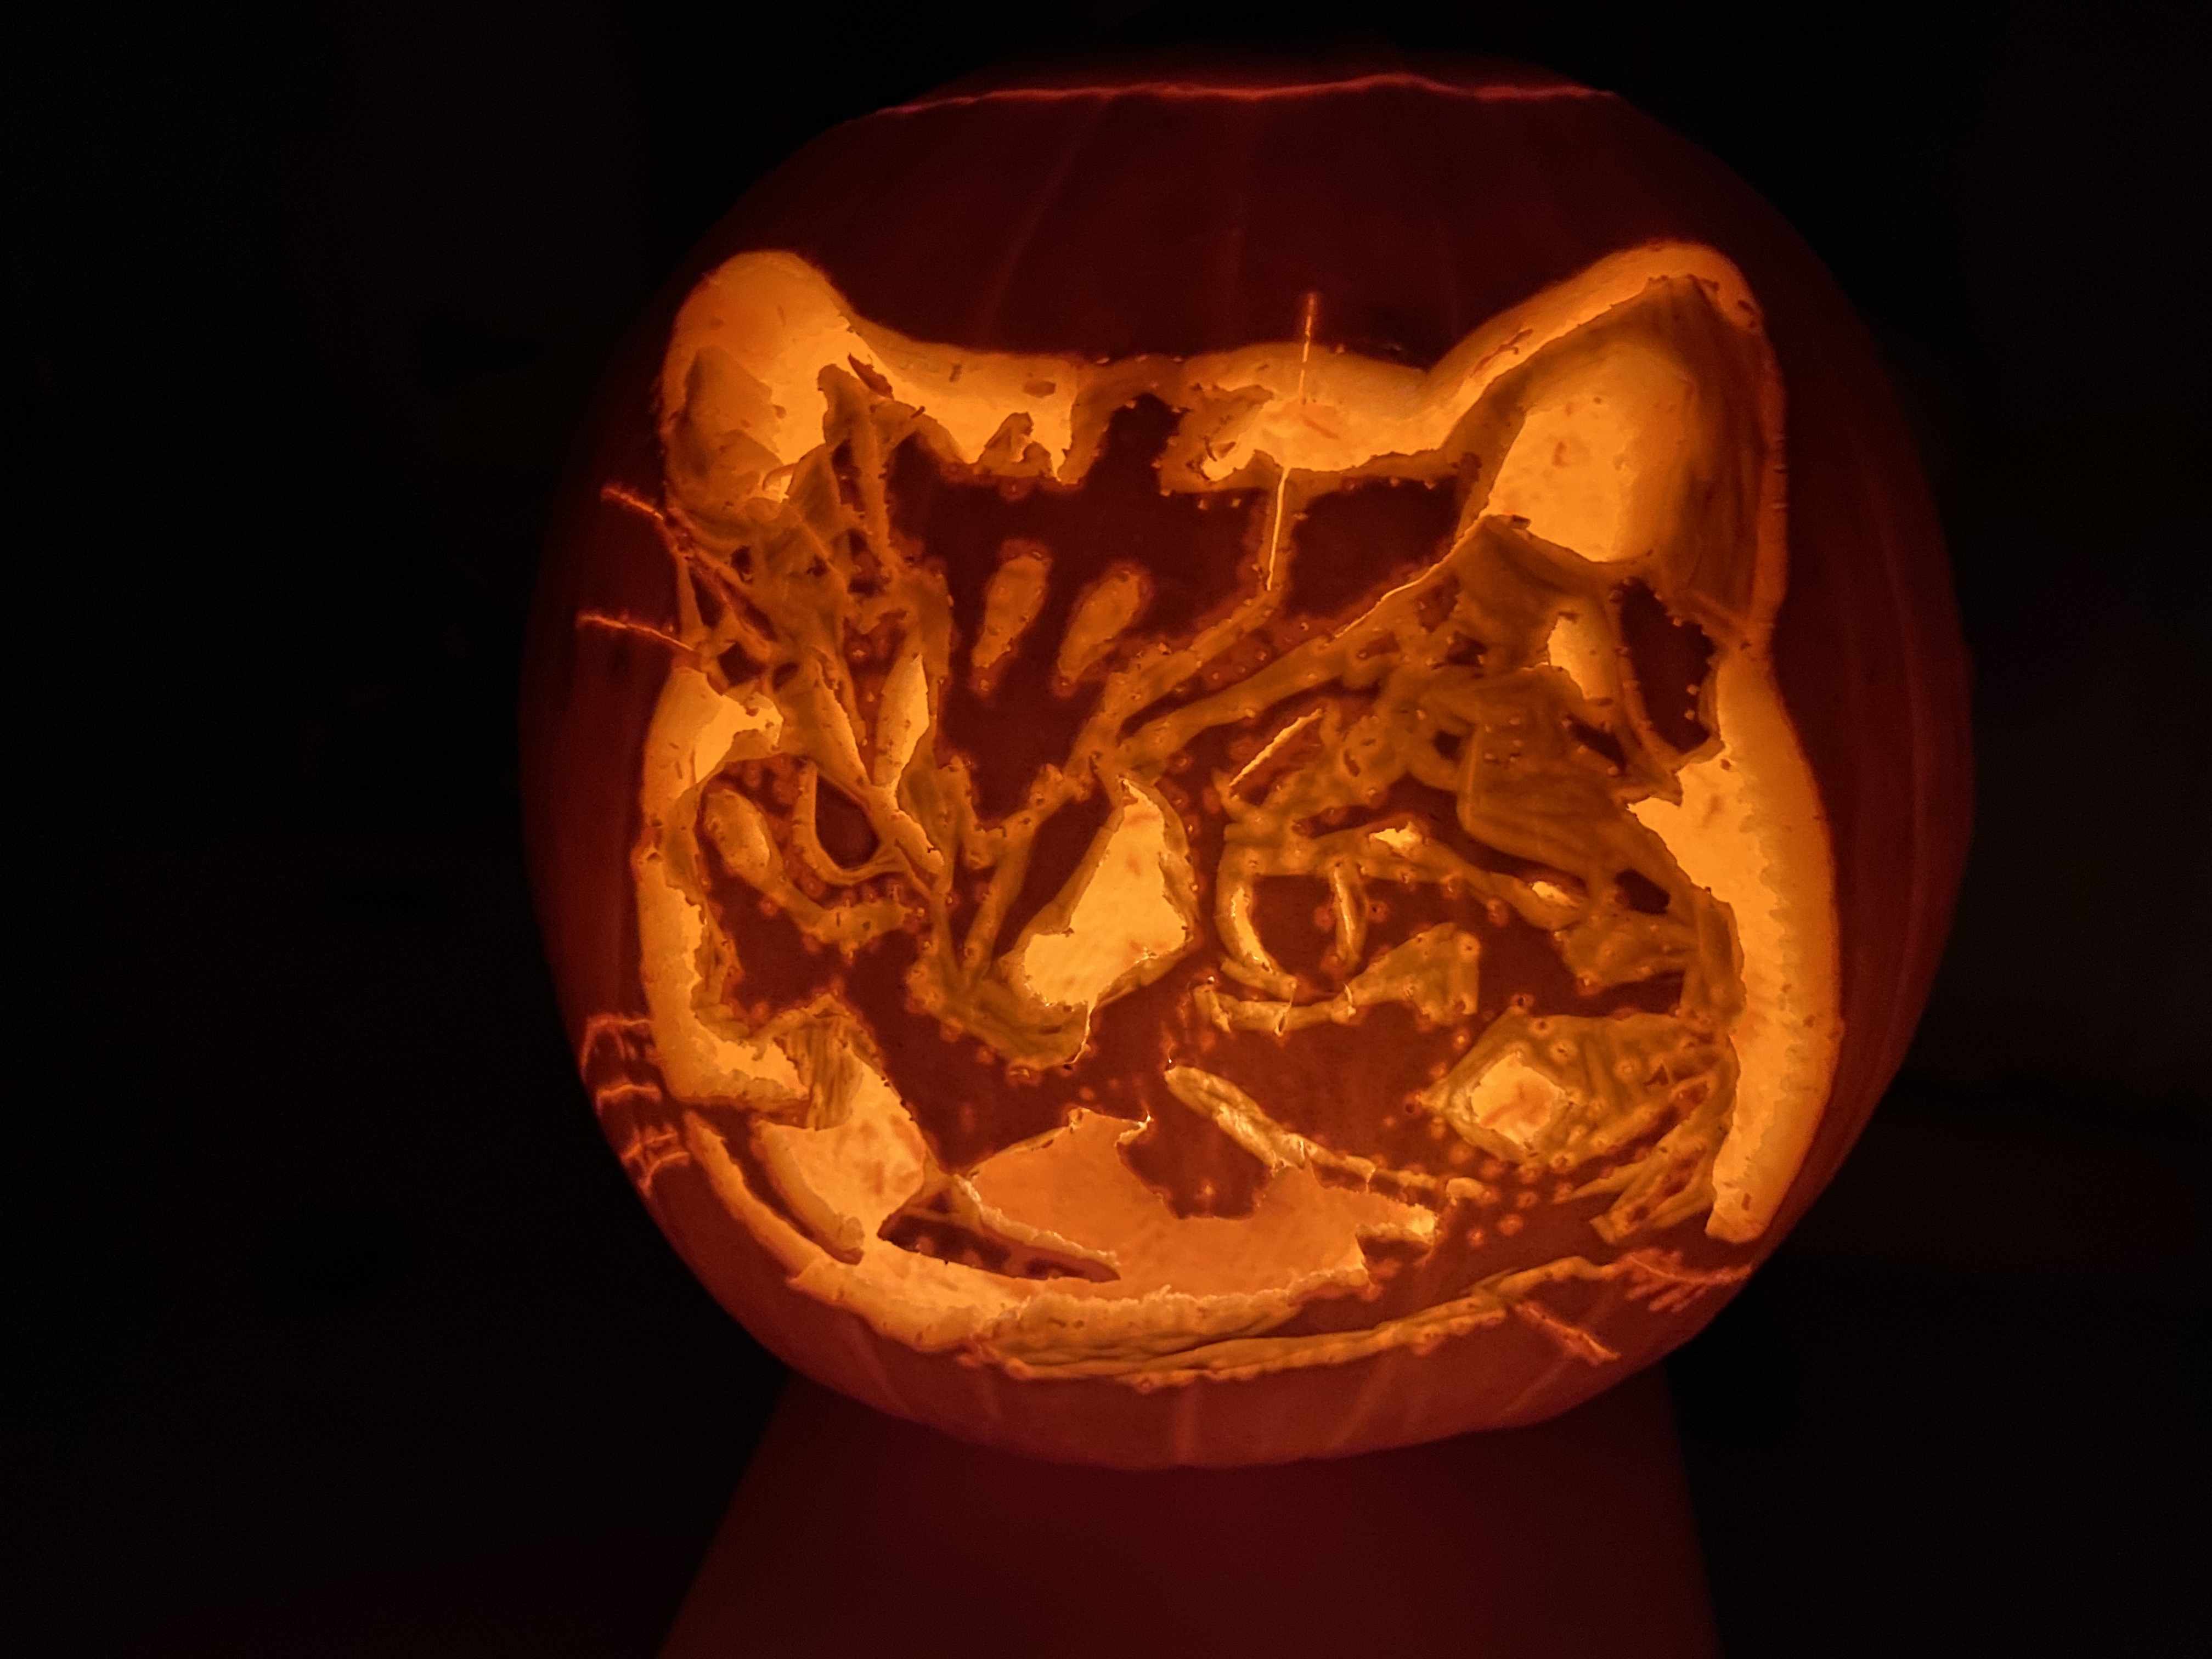
But I was pretty pleased with the final product when lit up, even though I made some mistakes:
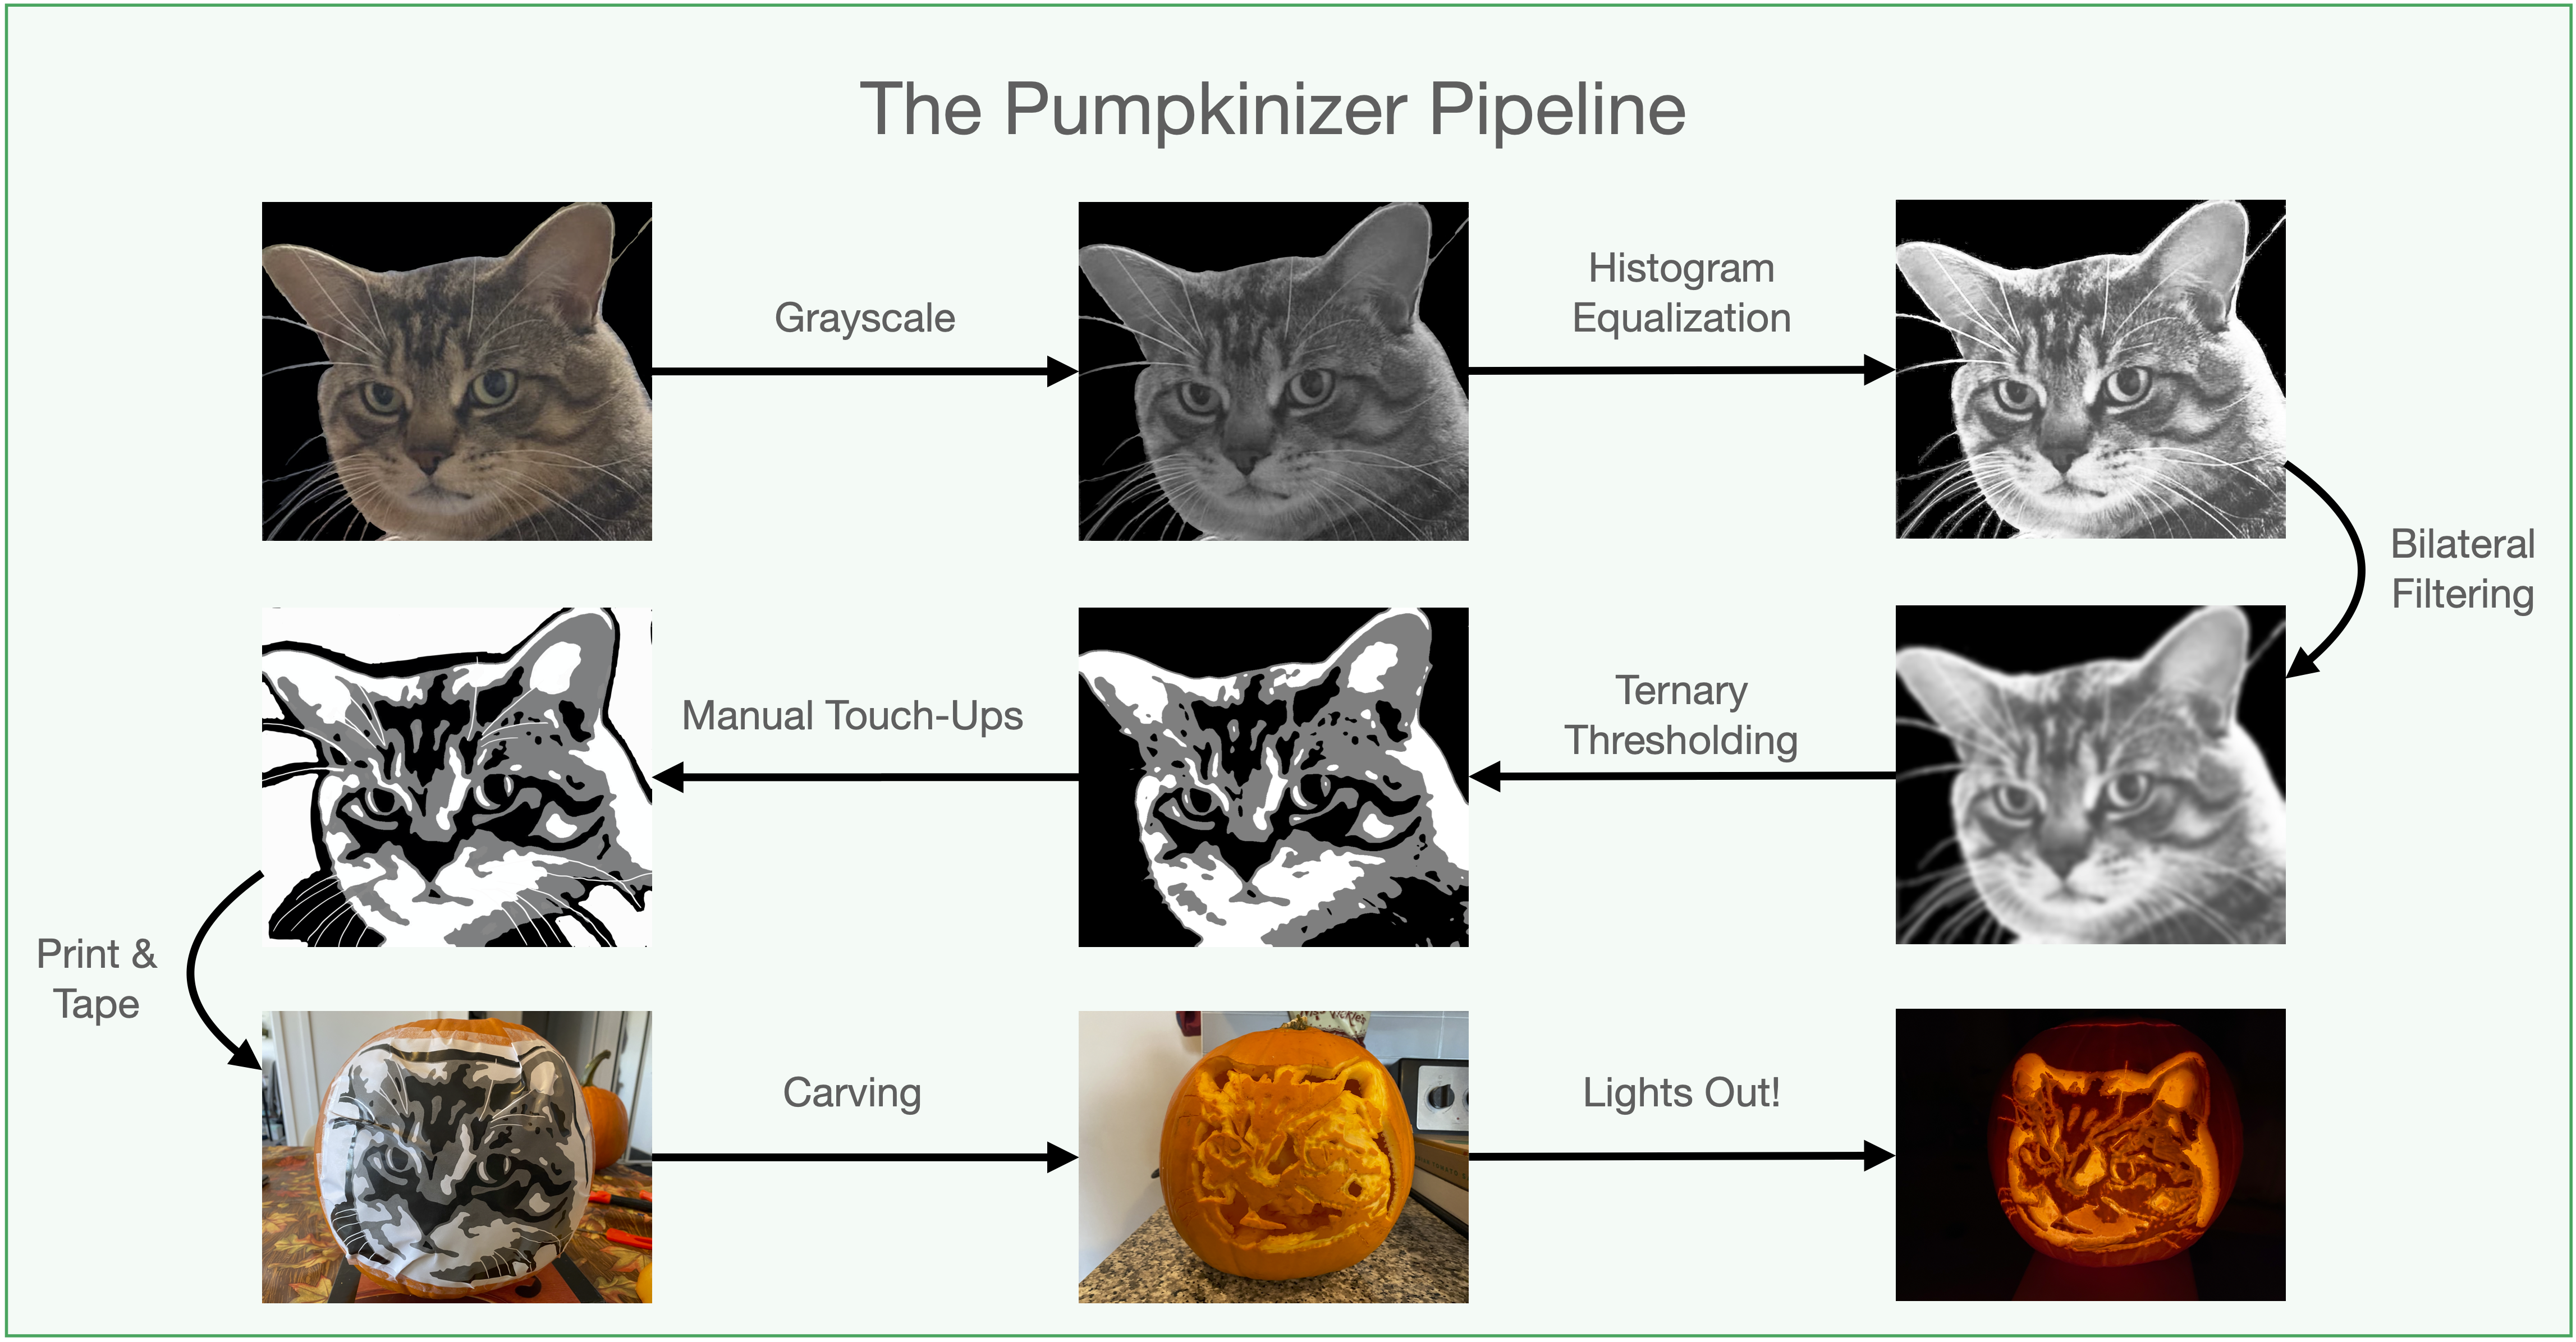
Here's an image of the full pipeline that helps to visualize the changes each step introduces:
Tips to myself (and others) for improving next year's pumpkin:
I carved the wall WAY too thin! Brun-o'-lantern's mouth fell off and I needed to support it with a pin.
The mouth was also just way too small, I need to make sure shapes have better structural integrity.
I need to make smaller holes in the dotting step - is my hole-poking tool too big, or did I just poke too hard?
Projecting a flat image onto a curved surface is never perfect, but the hole in the middle of his head is mostly my fault.
I need to be choosier with my pumpkin: this one was too small and curved for someone with my skill level.
I hope you found this informative! Feel free to use and modify the source code to make your own pumpkin carving templates next Halloween!